Wait, why would I want/need to do that?
Let’s suppose for ✨reasons ✨ that you’re running a build server (Jenkins nodes, etc.) on a Kubernetes cluster and the users of that build server are building container images by invoking $ docker build from their build scripts.
A few years ago, the Kubernetes project announced that it was formally deprecating Docker (as a container runtime) after v 1.20. As part of this change, they made sure to highlight:
One thing to note: If you are relying on the underlying docker socket (
/var/run/docker.sock) as part of a workflow within your cluster today, moving to a different runtime will break your ability to use it.
Given that the docker CLI is essentially a front-end for interacting with the Docker daemon (which it, by default, communicates with via the aforementioned socket) and Kubernetes v1.20+ no longer exposes the Docker socket to its workloads (like our build server), we’ve got a problem. Our builds are going to fail once we upgrade to Kubernetes v1.20+ and our users discover that $ docker build no longer works.
Okay, but don’t we need Docker to, uh, build a Docker image?
Strictly speaking: no! Let’s consider for a moment what a Docker container image (or, more accurately, an OCI image) actually is.
Fundamentally a container image represents a filesystem that is constructed one layer at a time. Each layer represents a new set of differences from the layer before it. The final state of the image’s filesystem can then be assembled by applying each layer in order. In short, a container image is “just” a linked list of tarballs.
Here’s DALL-E doing a mediocre job at illustrating this concept:
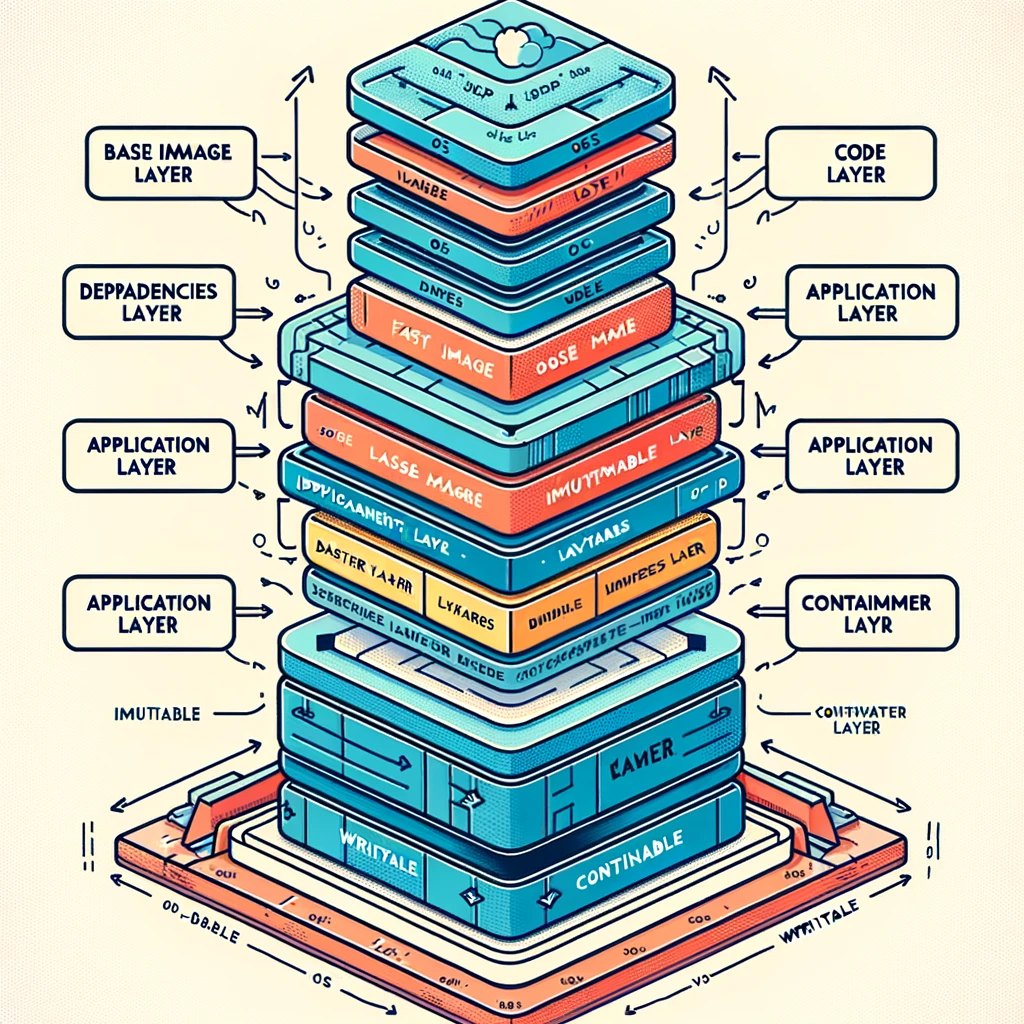
You can think of each layer like a commit in a version control system. Layers are crucially immutable and primarily identified by a hash of their contents. These properties allow layers to be cached and re-used across images, which saves time and I/O both when running and building images.
When a Dockerfile is “built”, a snapshot of the filesystem is taken and stored as a new layer in the final image after each command is executed (e.g. RUN, COPY). Since every layer implicitly depends on all layers which came before it, placing a command with a volatile output early on in a Dockerfile can negate all the benefits of layer caching, since the net contents of the image will change frequently.
If we want to maximize layer caching and re-use, we Ideally want the layers of our image arranged by how frequently they change. That is, the layers at the bottom should change infrequently (e.g. Ubuntu userspace) and the layers at the top should be the ones which are changing the most frequently (e.g. our application code). Typically, crafting a Dockerfile to achieve maximum layer re-use can be a time consuming process and require deep knowledge about your build tooling and language ecosystem.
Fortunately for folks building applications to run on the JVM (e.g. Java, Kotlin, Scala) there exists a wonderful tool called Jib from the containers team at Google that allows us to build OCI images without Docker and help us automatically arrange layers optimally.
Jib understands JVM build systems, so it can differentiate external package dependencies from shared compiled libraries from your application code. Since it understands the difference between these build artifacts, it can put the ones that change relatively infrequently (external package dependencies) towards the bottom of your container image, and the ones that change very frequently (your app code) at the top.
Not on the JVM? Bazel also provides a Docker-less and language/runtime agnostic way to build OCI images via the rules_oci module. It is, however, not the turnkey solution that Jib is.
How can I see what ultimately ends up in my container image?
My personal favorite tool for poking around inside of a container image is Dive. Its usage is fairly straightforward: you give it an image tag (e.g. my_app:latest) and it presents you with a visual representation of the filesystem, allowing you to inspect how the filesystem changes after each layer. It’s a great way to ensure that there’s no unexpected bloat in your image, regardless of how it was built.
If you’re looking for a tool that is less interactive, Crane is also useful for inspecting and extracting contents of container images.